Polished Pearl

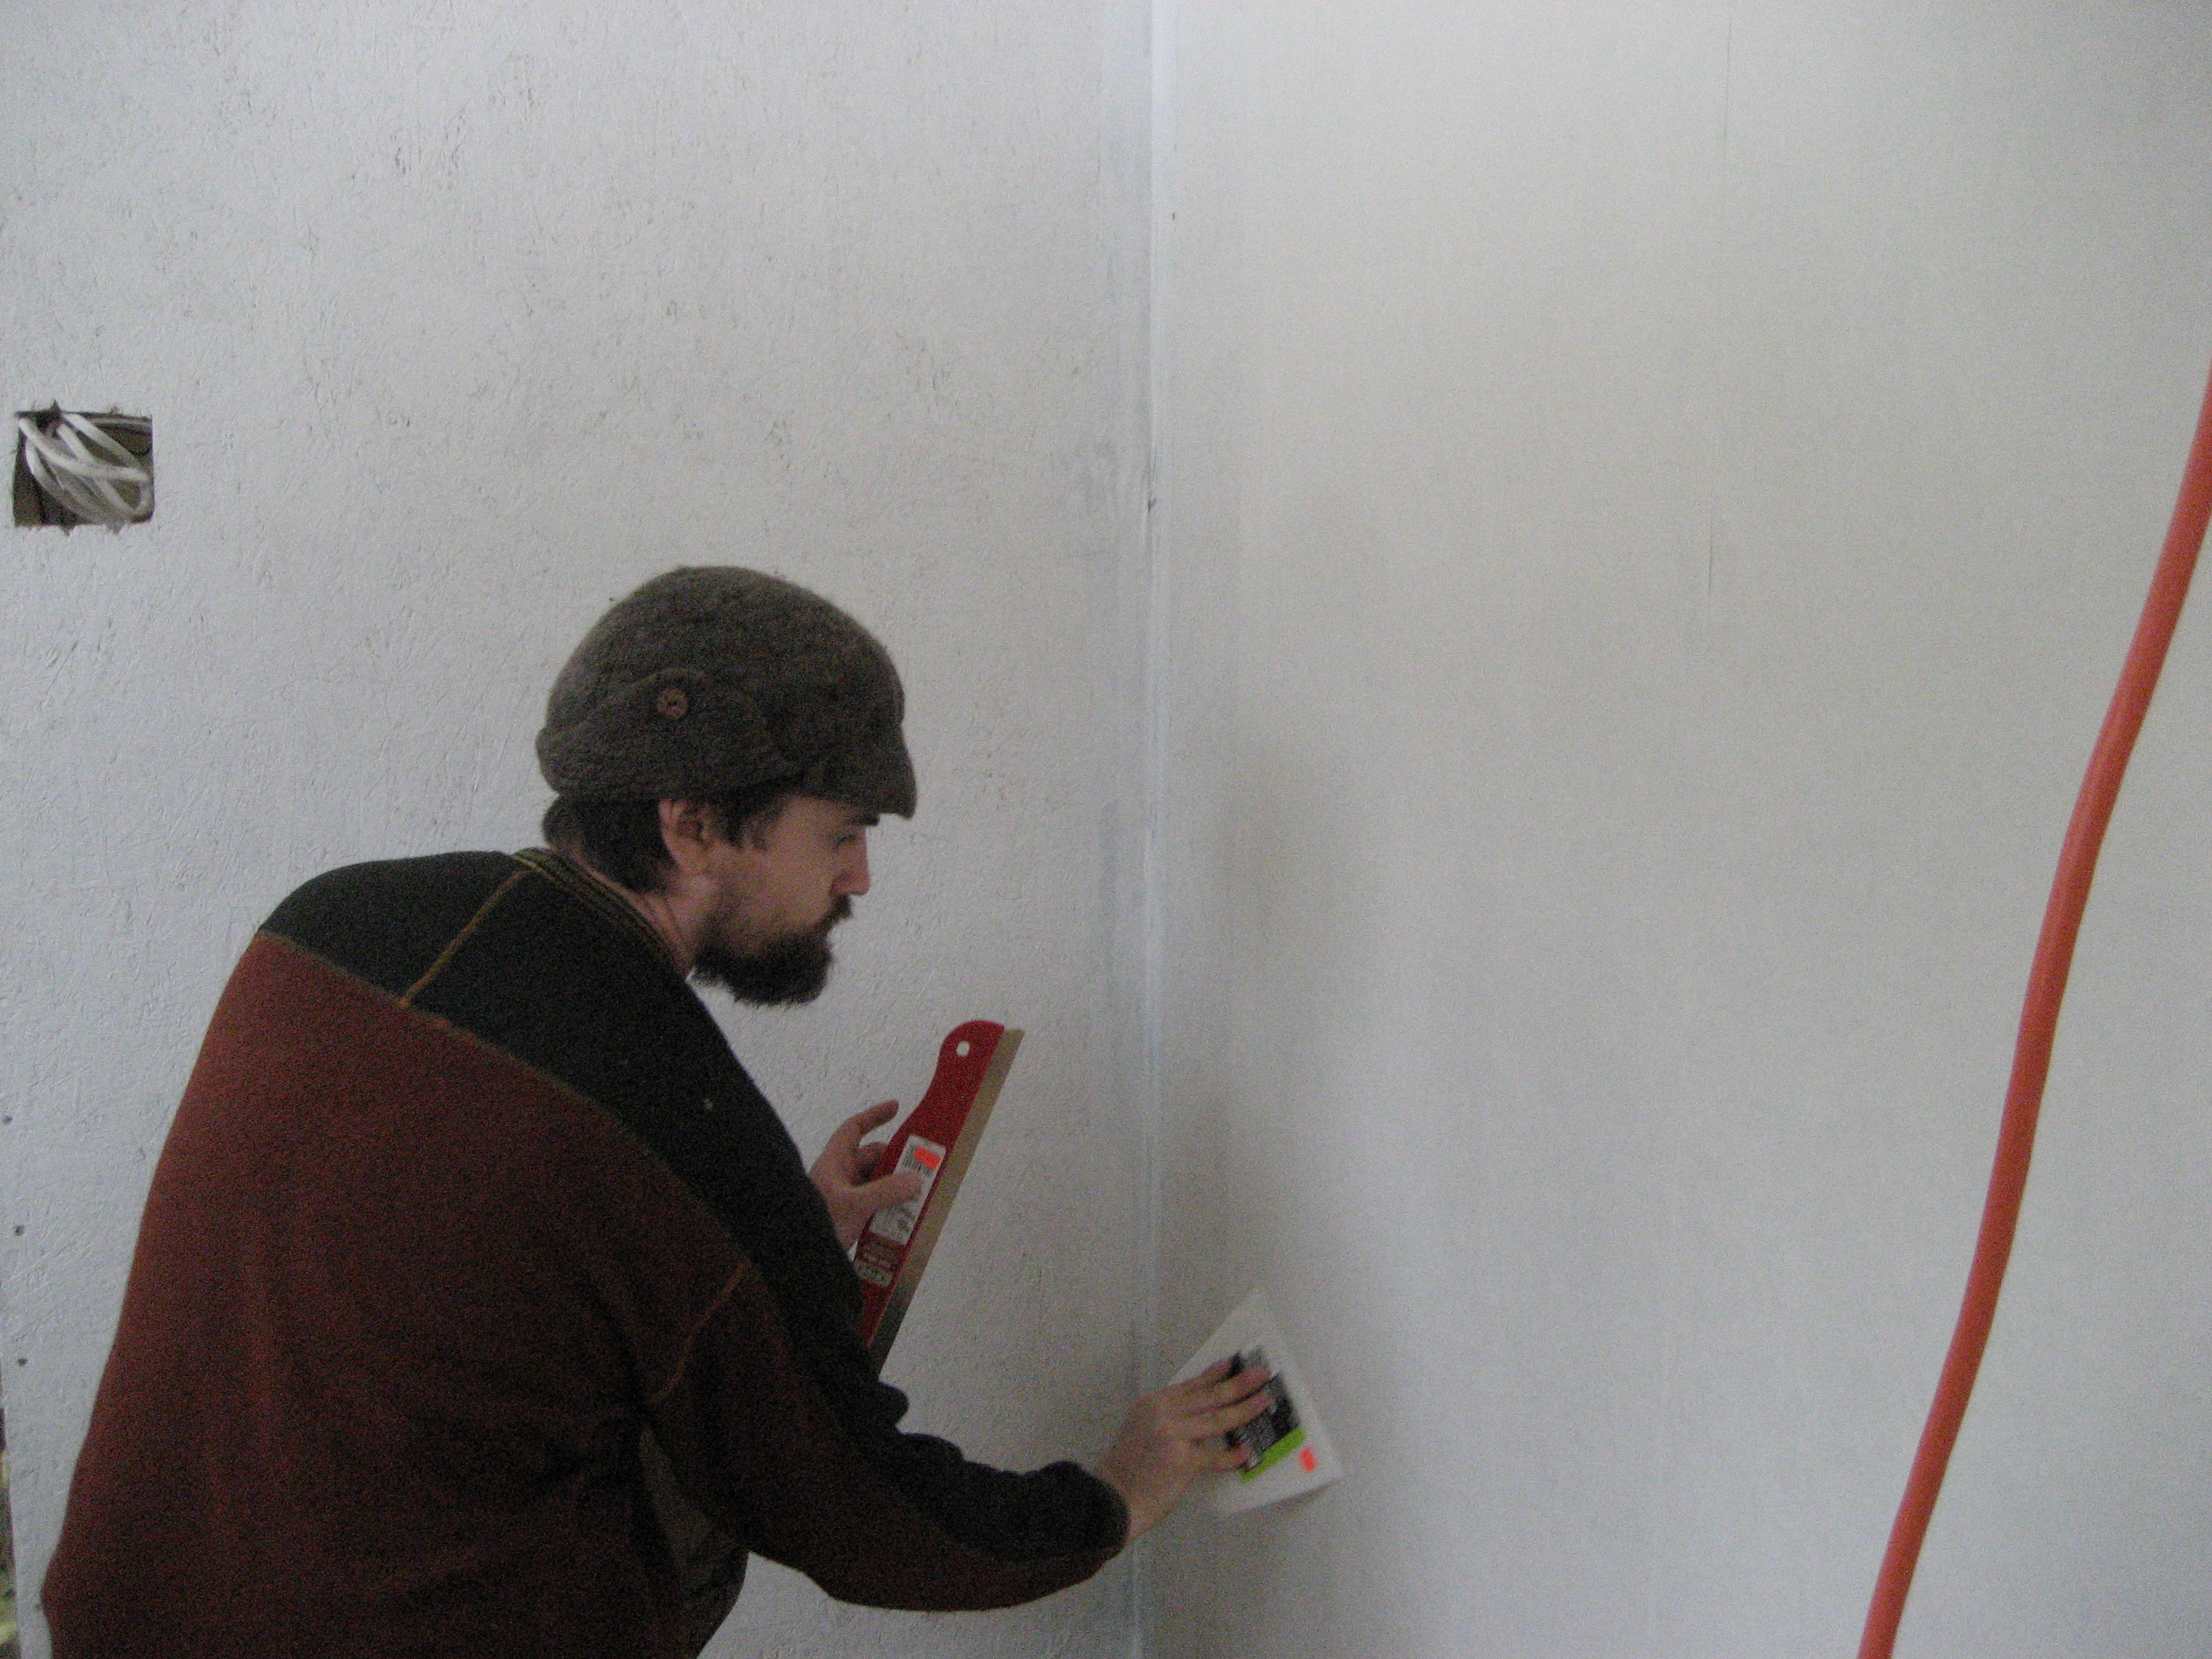
Mmm, doesn’t that sound nice? Polished pearl is the color of the walls of our new home. We’ve gone from brown OSB walls, to primed OSB white walls (right side of picture below), to papered walls (left side of picture), and now to a lovely cream-ish pearl color (you’ll have to come visit to really see the color, it’s tough to capture in a photo).

IMG_9557

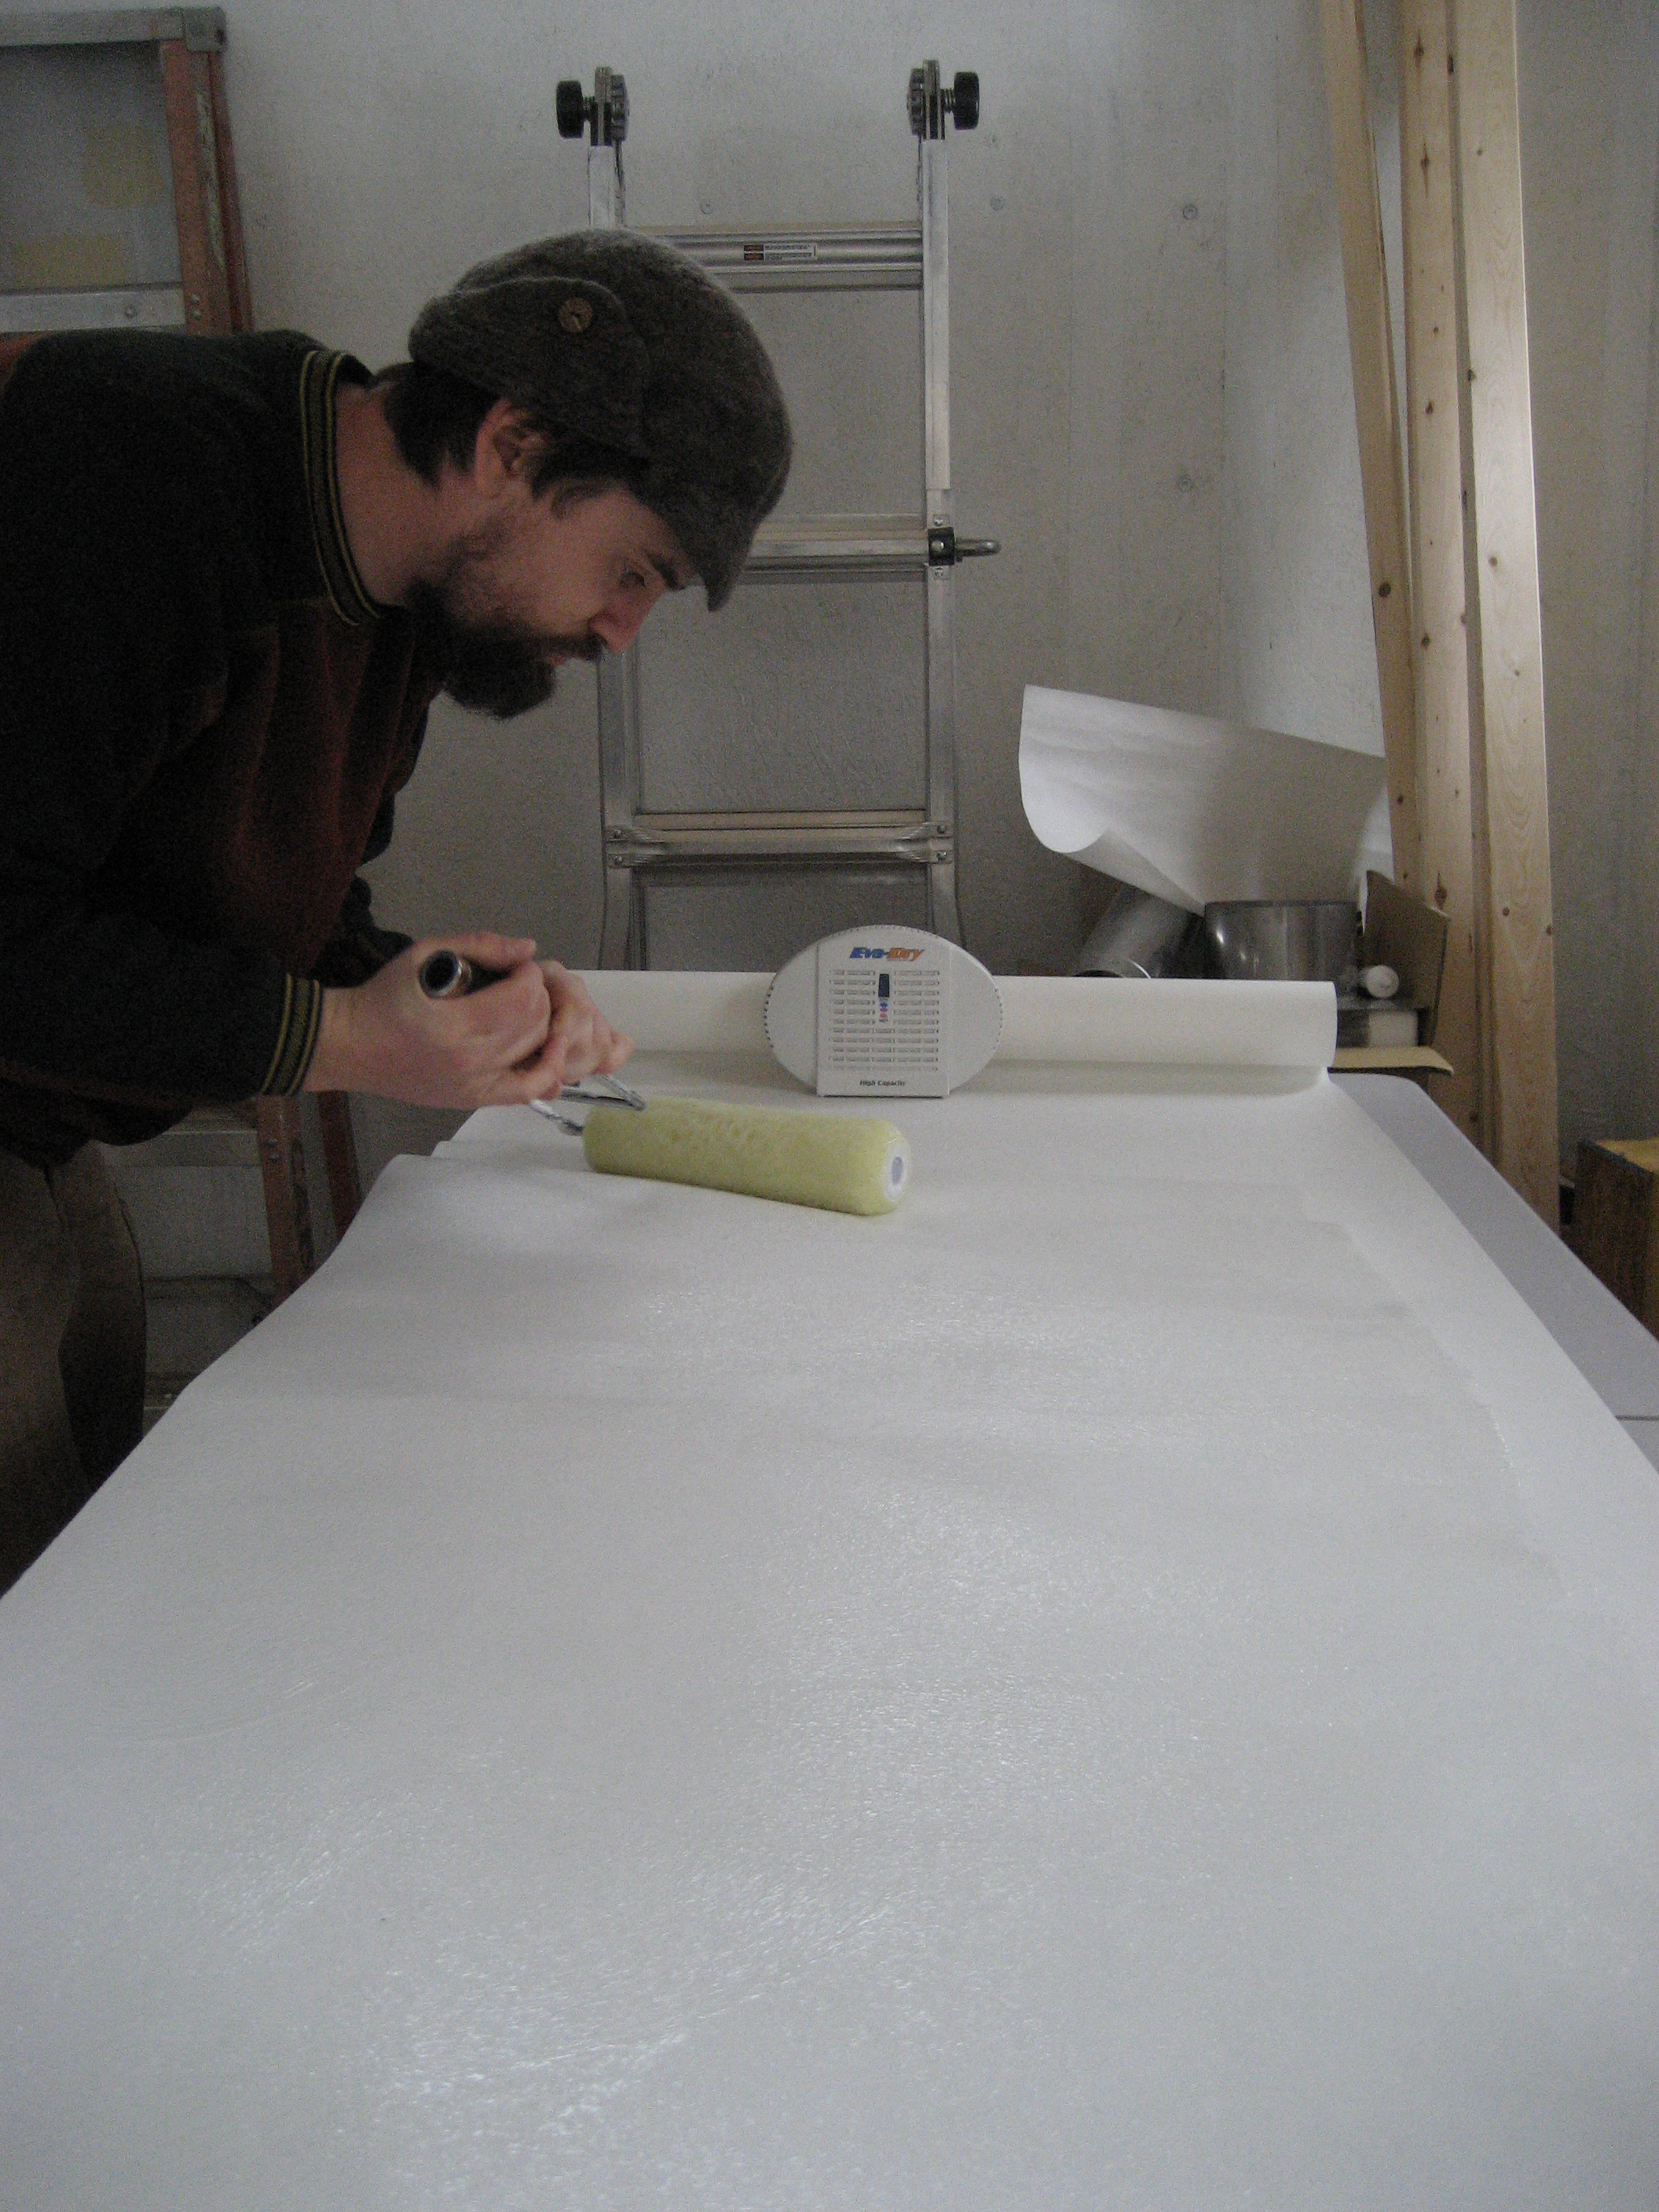
Here’s the last shots of Jeremy finishing up the wallpapering:

IMG_9560IMG_9553

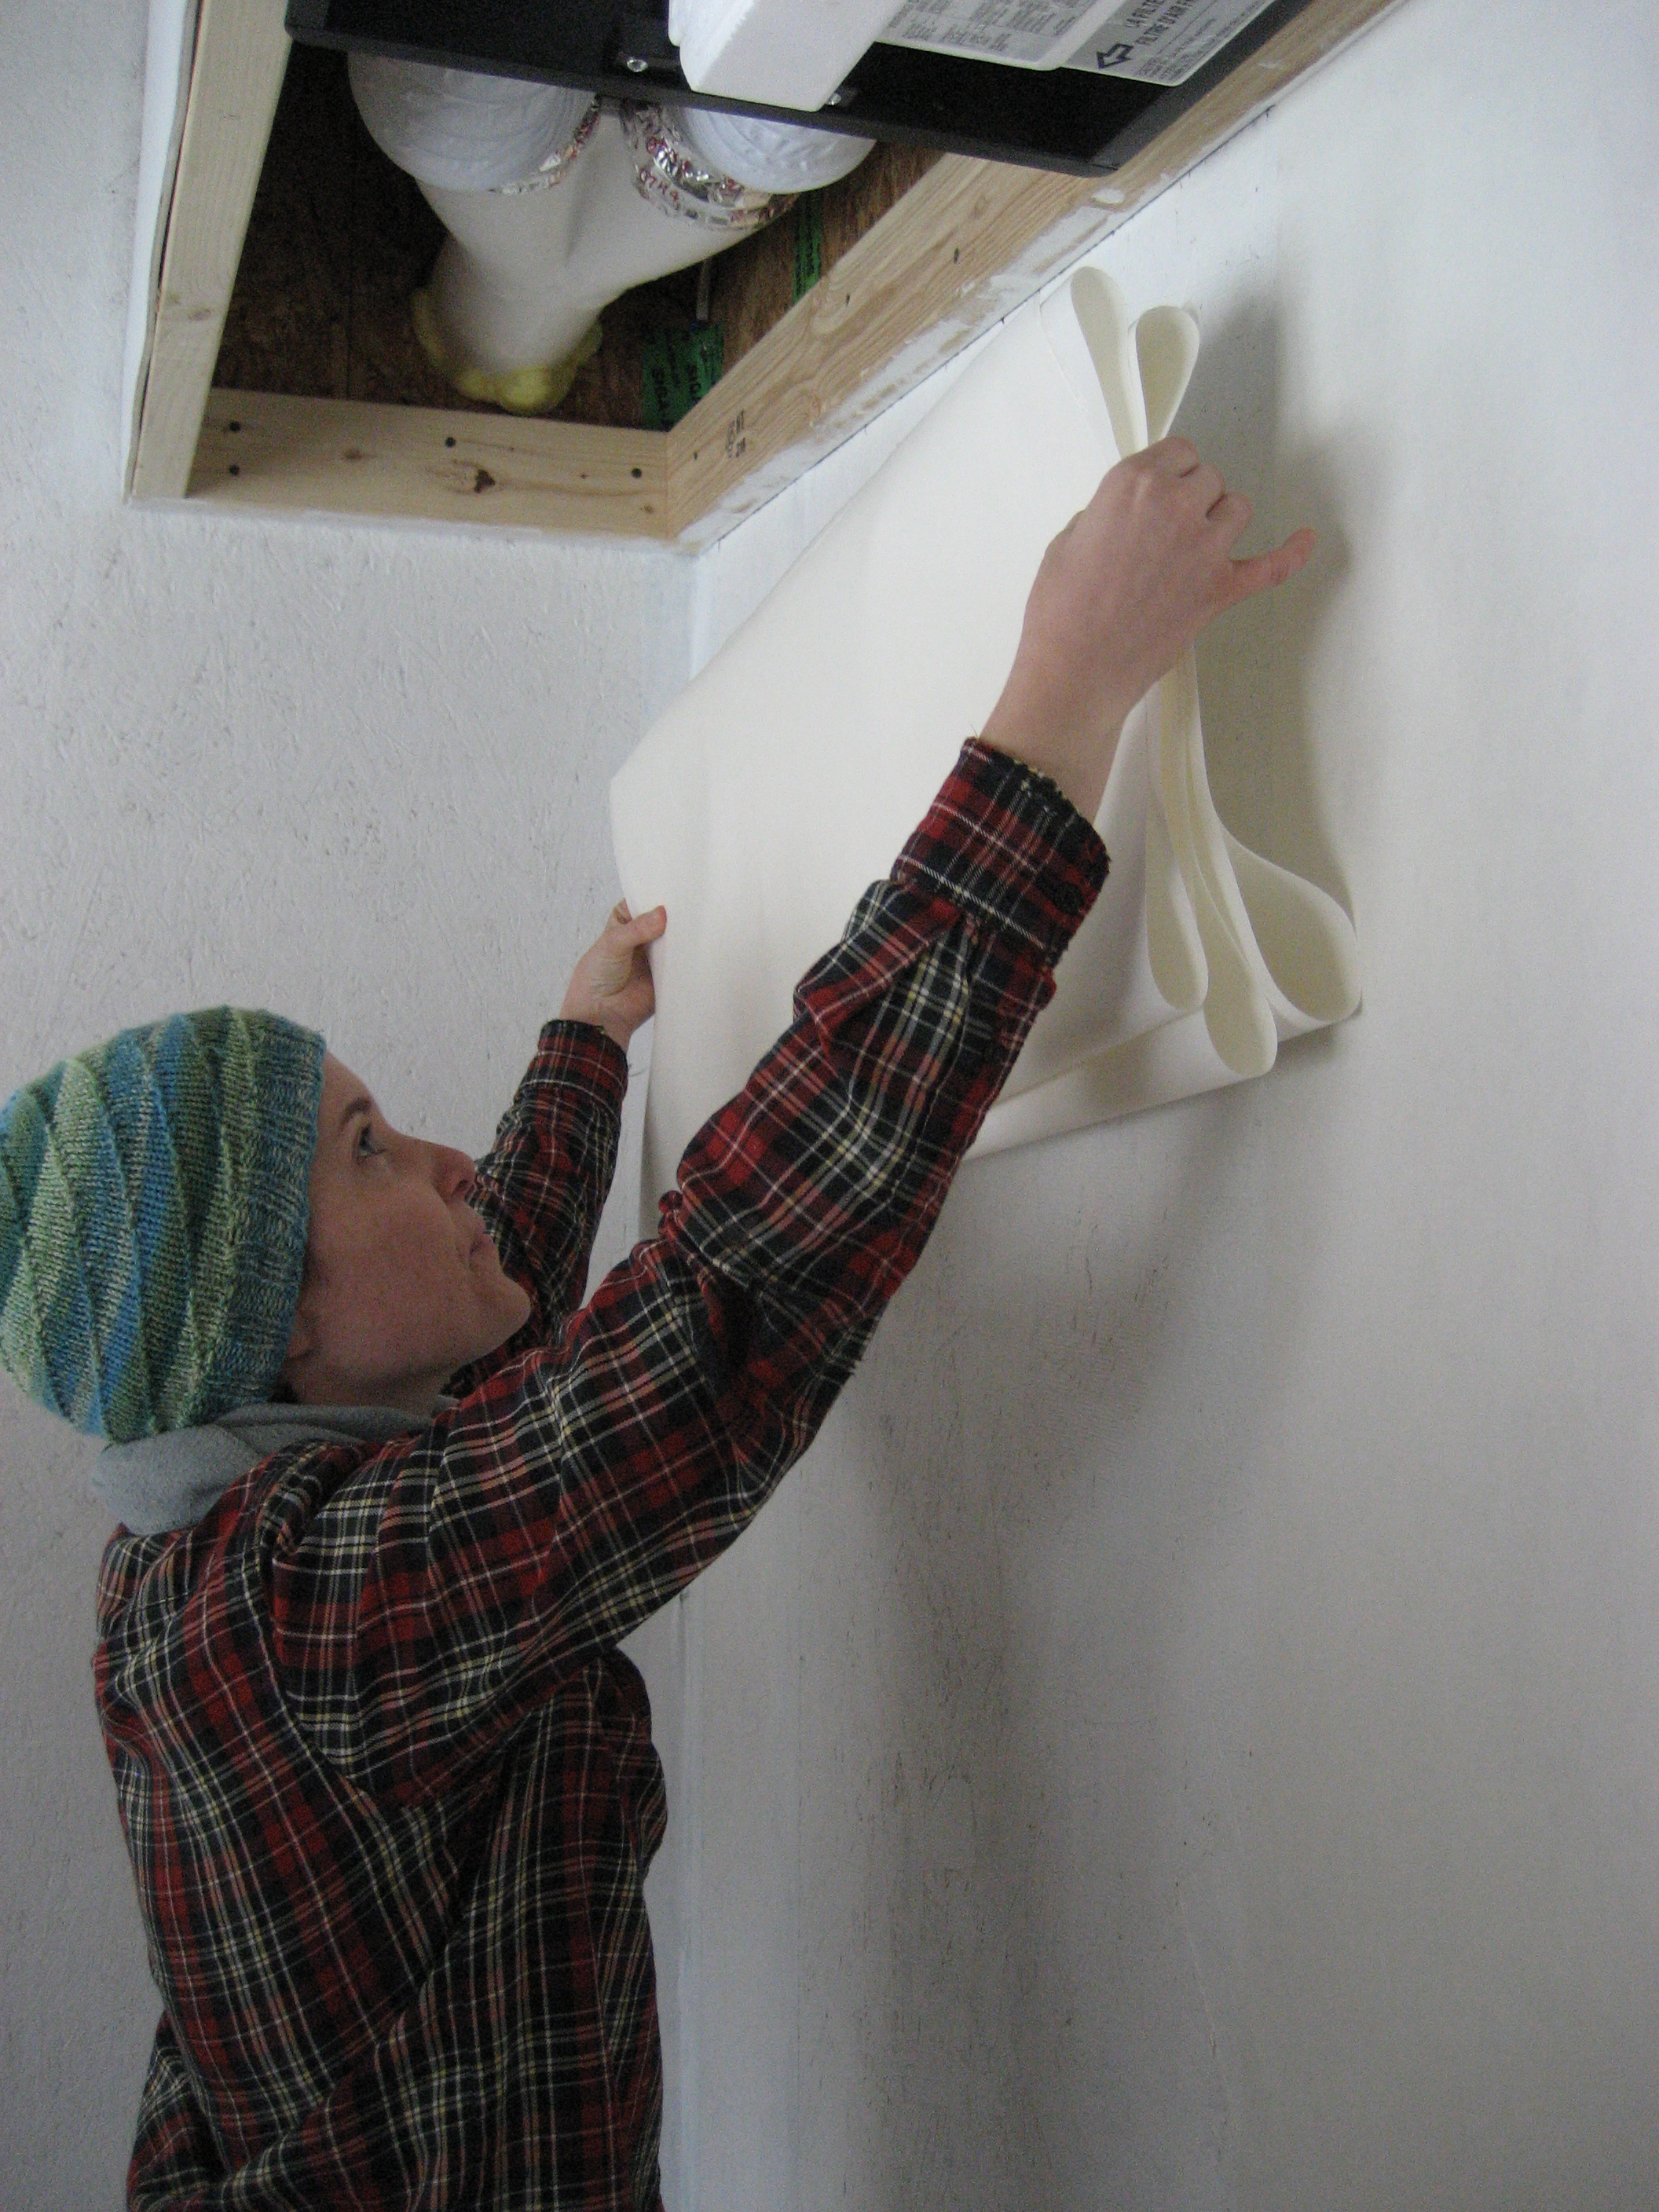
And here’s our friend Sarah helping roll on the polished pearl paint (thanks for your help Sarah!):

IMG_9563

We chose a low-VOC, more mold-resistant paint so that it will hold up well and be healthier for us. We think it looks pretty darn nice!

Next step: sleeping loft! The 4×4 inch hemlock beams that we’ve been drying out since the summer are finally being put to use as the base of the sleeping loft. There was a learning curve with hanging the first beam, but now that we’ve gotten past the first one it will go faster and smoother. Here’s the basic steps. We bought Simpson Strong Tie hanger brackets, and Jeremy spray painted them black for a nicer look (rather than silvery metallic). Then we cut a beam to length so that it will fit across the house, in between the two lengthwise poplar beams that are already screwed into the walls. Next we use a block plane to trim some wood off the sides of each end of the 4×4, since the beams are slightly too big to fit in the brackets. Then it’s time to hang. We figure out the placement of the beam and brackets, and screw a bracket onto each poplar beam (we quickly learned that the large nails that go with the brackets were way too much of a pain to install, so we found screws that we believe will be strong enough). Use a level along the way, although as you can see here nothing’s perfect…

IMG_9583

Then once the brackets are screwed in, place the 4×4 beam in the brackets! You can screw the beam into the bracket too, but it’s not necessary. Wash, rinse, and repeat. Here’s the proud homeowners with our first beam up:

IMG_9574IMG_9580

All this was done in the warmth of our home while the snow fell outside, which sure is nice:

IMG_9587

We’re now working on getting the rest of the loft beams up. The sleeping loft will add a whole new feel to the house, eeee!!

Wallpaper Pros

We’re not quite pros yet…. but the wallpapering has been going really well. Despite our fears that the wallpaper liner wouldn’t be thick enough to mask the textured look of the OSB, we think it looks pretty darn good! It’s tough to convey the effect here without you seeing it in person, but let’s try:

IMG_9475

IMG_9484

Now instead of staring at OSB walls, we’ve got a relatively smooth surface that actually makes the house feel like a home! As you can tell I get pretty excited. So if you’re building with OSB and wondering how to finish the walls, this is a viable option. We’ll also be adding a couple layers of paint to make the finished look even better, which is possible since we’re using ‘paintable wallpaper liner’.

When we started wallpapering last week it was tricky to get the application of the paste/adhesive just right, and to handle large sheets of paper gracefully (or just not completely awkwardly). But with each piece of paper it gets better, and I’ve found this step of the building process to be fairly quick and rewarding. While Jeremy can vouch that I enjoy using the loud and powerful miter saw, sometimes it’s nice to have a quiet task that involves patience and precision.

Here’s a few important wallpapering tips that we’ve learned:

  • Make sure you evenly cover the whole back side of the paper with adhesive, especially the edges
  • Apply the paper starting from a straight and level line (if your house is on a trailer and not precisely level, match to the level of the rest of the house)
  • Butt each piece of paper right up to the next and keep straight so that you’re level across the wall
  • Have a partner that helps hold large pieces of  paper, hands you tools, etc.

IMG_9480

IMG_9483

To finish the walls (except for the bathroom, where we’ll hang cedar), the next step is painting. I learned after looking through dozens of paint color samples that choosing one is so difficult because they are so similar that you agonize over trying to tell them all apart! Swiss coffee, polar white, eggshell cream, Vermont cream – there’s so many shades of off white. We’ll let you know next post which one we choose…

And then look forward to the next exciting step where we’ll be building our sleeping loft!

Tiny New Year

Happy New Year! We are very excited that 2015 is the year we will get to move into our tiny home. We hope that all your tiny and huge dreams come true this year.

IMG_20141225_140018_913

We had lovely holidays, including a visit to the tiny house from my mom (Ida) and sister (Amy). Tiny ladies in a tiny house!

IMG_20141225_135800_804

Work on the interior of the house has been somewhat slow (we can partly blame it on the holidays), but steady. We finally turned our walls from OSB (oriented strand board) brown to white, by priming all the walls. This really brightened up the house. We put on two coats of primer, and did our best to coat all the nooks and crannies of the OSB. This will make a suitable surface for paintable wallpaper liner, which we’ve been researching and will apply soon. Then we can either cover that with layers of paint (some kind of off-white), or apply another layer of wallpaper to really make sure the OSB texture doesn’t show through.

IMG_9434

IMG_9437

Here’s an experiment with different wallpaper liners, and one paint color. We like the name of the paint- ‘cream puff’ (yum!)- but it’s too peachy/creamy for our taste so we’ll keep shopping:

IMG_9461

Next we built a storage shelf above the ERV (energy recovery ventilator), to maximize the space. And then we put up an outer wall on the ERV frame, and primed this wall.

IMG_9458

IMG_9467

IMG_9471

Lastly we worked on insulating and boxing in the trailer wheel wells, which stick into the house a few inches. We built a wood frame around the wheel well, and then filled in the whole area with foam to insulate it. The last step will be to attach a top to this ‘box’, likely some plywood.

IMG_9462

IMG_9464

While each step of the building process feels kind of exciting when we’re actually making it happen, it may sound or look a bit boring when we show it here… But don’t worry, once we get to things soon like building the sleeping loft, installing tongue and groove wood on the ceiling, etc. you’ll really see some exciting changes to the house!